Key Takeaways:
- Proper preparation of natural nails and the use of high-quality glue are crucial for extending the life of press-on nails.
- Applying a thin layer of glue and ensuring a firm bond can prevent air bubbles and promote longer wear.
- Regular maintenance, including the use of cuticle oil and wearing gloves for protection, can help press-ons last for two weeks.
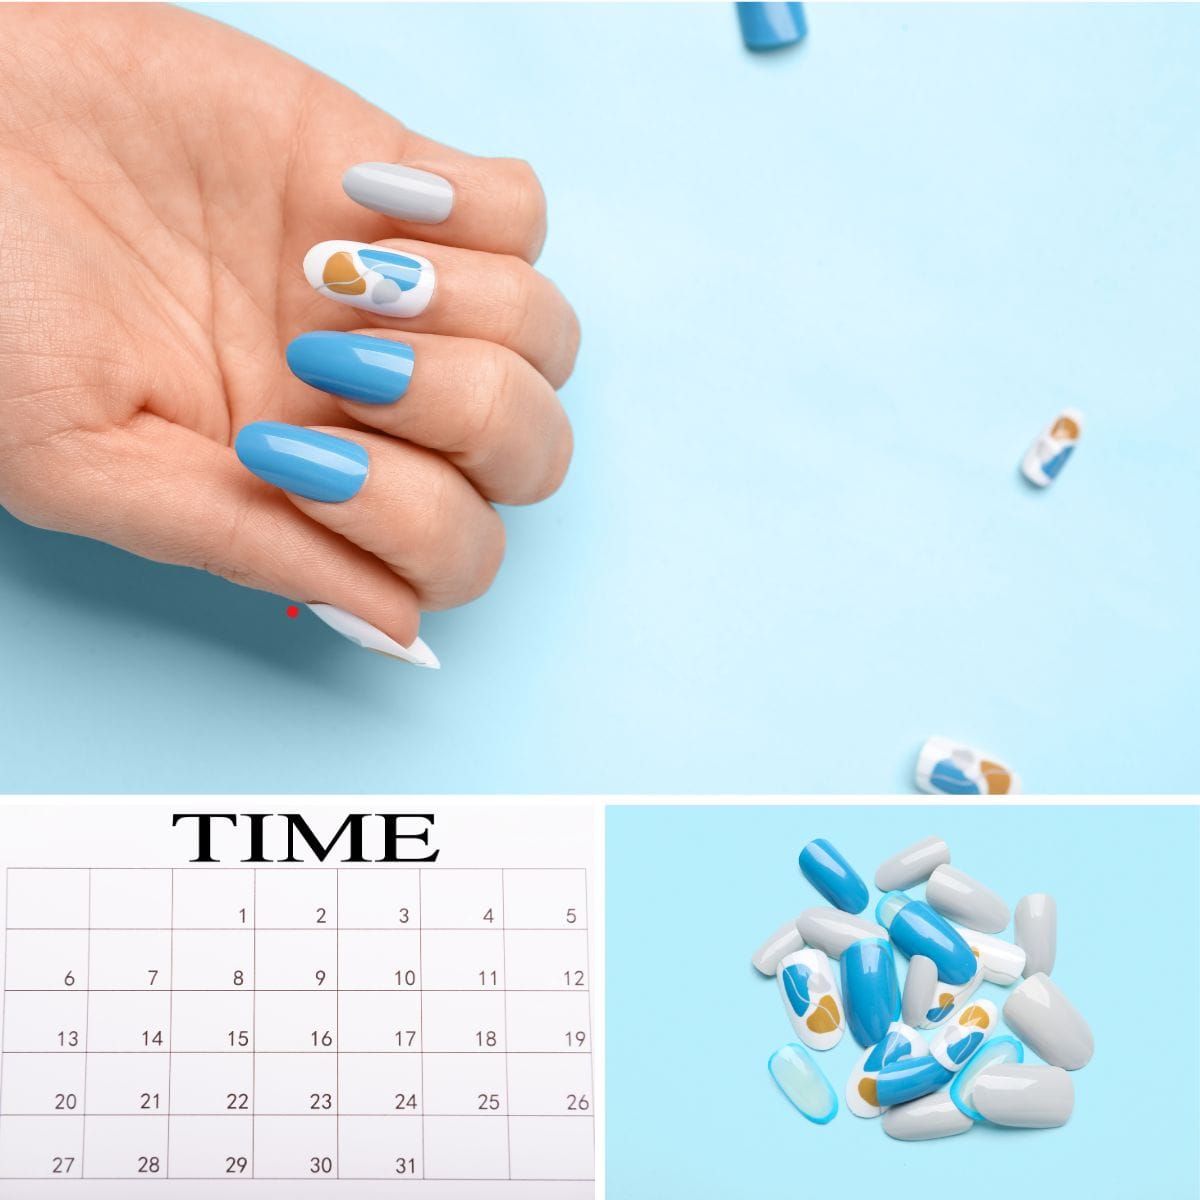
Press-on nails have become increasingly popular as a quick and convenient alternative to traditional nail salon visits. They offer the flexibility of different styles and lengths, and with the right techniques, you can make your press-on nails last for an extended period. If you're wondering how to make press-on nails last two weeks, you're in the right place. This article will guide you through the steps and tips to ensure your fake nails stay put and look fabulous for up to 14 days.
Preparing Your Natural Nails
Before you even open your press-on set, the key to longevity starts with your natural nails. Begin by cleaning your nails with nail polish remover, even if you don't have polish on. This step is crucial for removing natural oils and creating a clean surface for the press-ons to adhere to. Next, use a buffing tool to gently roughen the surface of your nail beds. This creates a better grip for the nail glue.
Choosing the Right Glue
Not all nail adhesives are created equal. For making press-on nails last, invest in high-quality glue. The glue bonds are what keep your artificial nails attached to your natural ones, so don't skimp on this. A thin coat of a strong adhesive can make a significant difference in the staying power of your press-ons.
Applying Press-On Nails Correctly
When applying press-on nails, it's essential to avoid air bubbles, which can potentially weaken the glue's hold. Apply a thin layer of glue to both the press-on nail and your natural nail. Press the fake nail onto your natural nail, starting at the cuticle and pressing down at a downward angle to the desired length. Apply pressure for about 10 seconds to ensure the glue bonds properly.
The Importance of the Right Shape and Size
Selecting the right shape and size for each nail is crucial. If the press-on doesn't fit your nail bed correctly, it won't stick as well and is more likely to pop off. Before applying glue, lay out your nail set and ensure each press-on matches the size of your natural nails. If necessary, file the sides for a perfect fit.
Creating a Protective Barrier
A base coat isn't just for color; it also serves as a protective barrier for your natural nails. Apply a thin layer of base coat and let it dry completely before applying the press-ons. This step can also help the glue adhere better and prevent your natural nails from staining.
Maximizing Adhesion with High-Quality Glue
When considering how to make press-on nails last weeks, the choice of nail adhesive is paramount. High-quality glue is the cornerstone of a long-lasting press-on set. It's not just about using enough glue, but also about selecting a formula that bonds effectively with both the false nails and your natural nail bed. A good adhesive should withstand daily activities without lifting or peeling. When applying press on nails, ensure that the glue is spread evenly to avoid air bubbles, which can compromise the longevity of your manicure.
Moreover, the application process itself is crucial. Before using the glue, gently push back your cuticles and buff the surface of your natural nails to create a rough texture for better adhesion. Be cautious not to overdo it, as too much buffing can weaken your nails. Apply a thin layer of glue to the press-on nail and a dot to your natural nail to ensure a secure fit. Press firmly for a few seconds to rid any air pockets and establish a strong bond. Remember, a little extra time spent on this step can significantly extend the life of your press-ons.
Enhancing Durability with Gel Polish
To further extend the wear of your press-on nails, consider incorporating gel polish into your routine. After applying press on nails, a layer of clear gel polish can act as a protective barrier, safeguarding the press-ons from chips and scratches. Use a UV lamp to cure the gel polish, which will not only add shine but also harden the coating, making your false nails more resilient. This method can help your press-ons last for ten days or more, depending on your daily activities.
However, it's not just about the top layer. You can also apply a base coat of gel polish on your natural nails before attaching the press-ons. This creates an additional layer of adhesion, reducing the likelihood of premature lifting. When using gel polish, always follow the manufacturer's instructions for curing times to achieve the best results. By combining a high-quality nail adhesive with the reinforcing power of gel polish, you're setting the stage for an acrylic manicure that rivals the durability and appearance of a salon service.
Maintenance is Key
After your press-ons are applied correctly, maintenance is what will help them last the full two weeks. Apply cuticle oil regularly to keep the skin around your nails healthy and prevent lifting. Also, wear gloves when doing dishes or cleaning to protect your nails from warm water and soapy water, which can potentially weaken the glue bonds.
Avoiding Harmful Activities
Certain activities can shorten the life of your press-on nails. Avoid using your nails as tools to open cans or peel off stickers. When typing or texting, use the pads of your fingers instead of your nails to prevent them from loosening.
Touch-Ups When Necessary
Even with the best application process, you may need a touch-up. If you notice a nail starting to lift, apply a small amount of glue and press it back down. Quick fixes can extend the life of your press-on set and prevent you from having to do a full replacement.
The Role of Top Coat
Applying a top coat over your press-ons can seal the edges and add an extra layer of protection. Choose a top coat that's compatible with the material of your press-ons, whether they're gel nails or acrylic nails. Reapply the top coat every few days to maintain shine and protection.
When to Remove and Replace
If you've reached the two-week mark or your press-ons are showing significant wear, it's time to remove them. Soak your nails in warm water to loosen the glue, then gently lift the edges. Never force or pull the nails off, as this can damage your natural nails.
Summary
Making press-on nails last for two weeks is all about the preparation, application, and maintenance. Start with clean, buffed natural nails, use high-quality glue, and apply the press-ons with care to avoid air bubbles. Select the right size and shape for each nail, and protect them with a base coat and top coat. Regular maintenance, including cuticle care and protective measures, will help your press-ons stay in place. With these tips, you can enjoy beautiful, long-lasting press-on nails without frequent trips to the nail salon.
FAQ Section
Q: Can I shower with press-on nails? A: Yes, you can shower with press-on nails. However, prolonged exposure to hot water can weaken the glue bonds. It's best to keep showers short and wear gloves when possible.
Q: How can I prevent my press-on nails from turning yellow? A: Preventing discoloration involves protecting your nails from UV exposure and harsh chemicals. Apply a UV-resistant top coat and wear gloves when using cleaning products.
Q: Is it safe to use press-on nails if I have sensitive skin? A: Generally, press-on nails are safe for sensitive skin. However, if you have a known allergy to acrylic or gel products, it's best to consult with a dermatologist before use. Always perform a patch test with the nail glue to ensure you don't have a reaction

